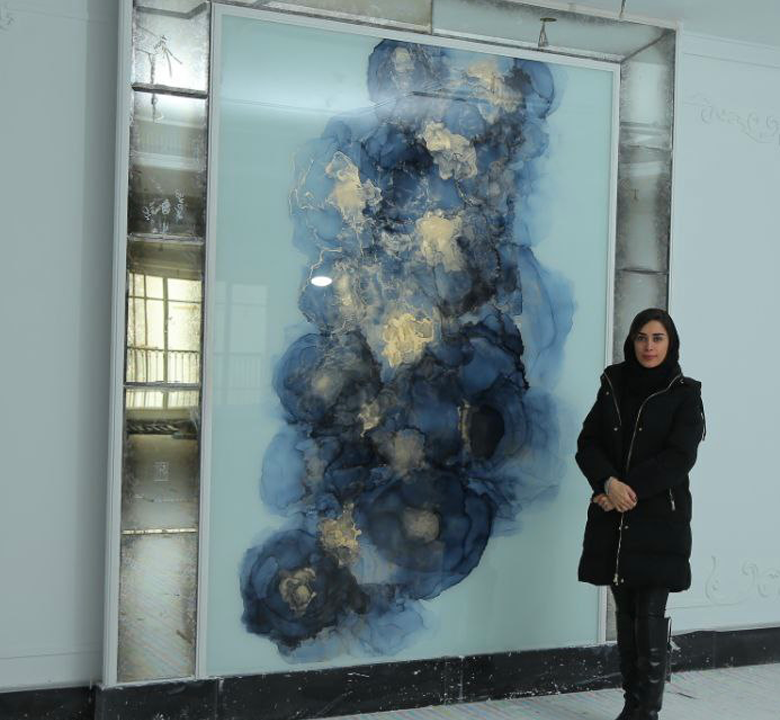
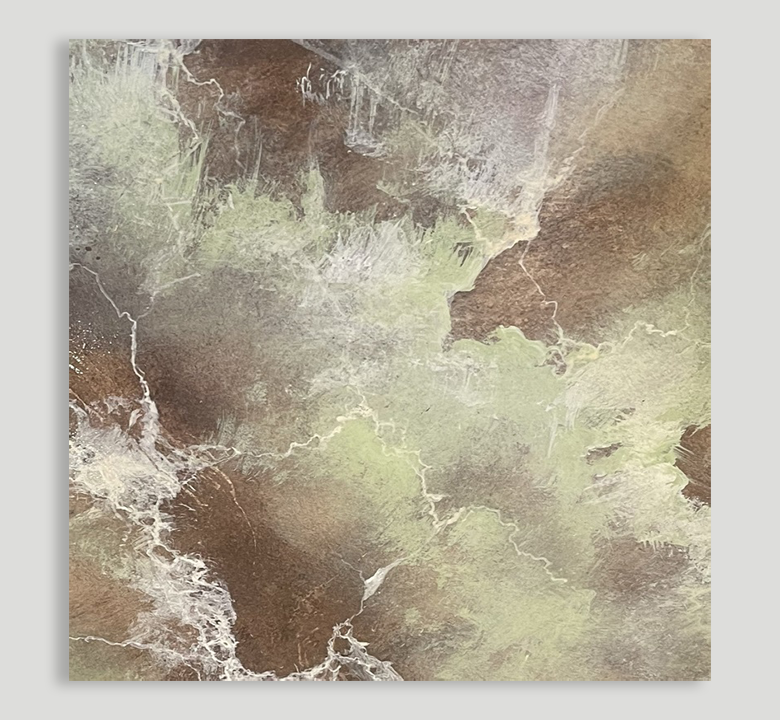
„ A summary in definition of resin art, making resin and the supplies are needed for resin artworks.”
First, I explain about resin art, the chemical combination of making resin and how to reach to this combination. Then I briefly explain about the supplies we need for making a high quality resin and how to make and design a resin. You can visit my various resin products and artworks.

Resin art
Resin is a liquid or semi-solid substance which is in both forms of natural and synthetic shapes. The natural resin is prepared from the gum of trees, while synthetic form is obtained from the molecular decomposition of vegetable oils.
Resin art is combination of synthetic resin and a curing agent called hardener. The result of this combination is beautiful resin artworks. These created artworks are both aesthetic and practical. They have so many practical aspects which make them attractive and useful. We can use resin in construction industry and in manufacturing of ceramics and tiles. Also we can make resin decorative dishes , many kind of resin clocks, photo resins, accessories, ornaments, beautiful resin tables and many kinds of resin holders.
Resin or epoxy resin initially is a viscous liquid substance. As I mentioned, resin will change to a rigid form after combination with hardener. When it turns into the hard form, it will be very resistant against high temperature and it will be waterproof and shockproof.

Because resin is transparent, we can usually use it with other materials. Some color pigments or some objects such as dried leaves and flowers are added to resin to decorate and color it. Also some resin artworks are in form of seascapes. We can add sand, scallops and shells to their main resin and create natural seascapes.


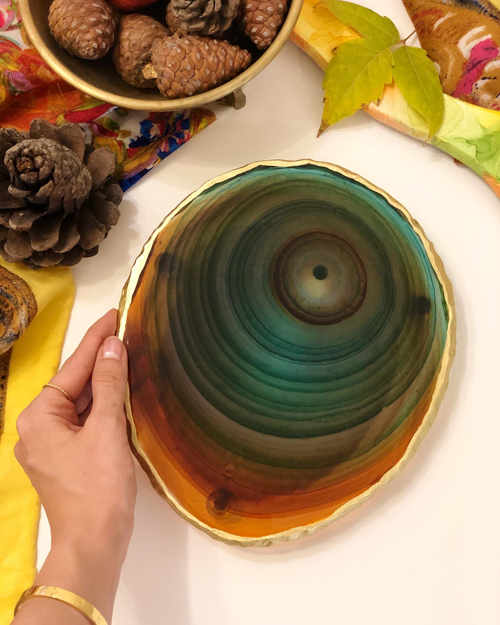
The supplies of resin artworks
For making resin we need some supplies. These supplies help us for a better quality and more safety during our work. They are as follow:
1- Resin and hardener: for blending with each other and make solid resin artworks.
2- Epoxy resin pigment: We should add some colorant pigment to resin and hardener to create colors to resin works.
3- Disposable cups: we have to blend resin and hardener in one container which is better to be plastic. Because plastic does not stick to resin.
4- Wood stick: we need some stick to stir resin in hardener.
5- Disposable latex gloves: however we work with chemical substances so we must protect our hands from the sticky resin.
6- Mask with respiratory filter: some resins have toxic vapor that is not suitable for our lungs. So we must be protected against them.
7- Torch: By torch we can remove bubbles on resin surface.
8- Heat gun or hair dryer: we need to warm the surface of resin or push colored resin across the surface for making resin.
9- Silicone molds: we need some molds made of silicone to make shape to resin.

Making resin
For making resin artworks we should do some stages that will give us a better result. We must follow them carefully. These important steps are as follow:

Clean the place of work and be safe

At first we must clean the place we work from dust and cover our work table with a clean plastic sheet, because dust will stick on the surface of our resin quickly. Also we should be careful that even if a drop of water fall on the surface of the resin, it will dull its color and lose its transparency. Another important point is that the surface we work on it must be level because resin must be cured or dried evenly. Don’t forget to wear disposable latex gloves and mask with respiratory filter during the work.
Blending resin with hardener
We should mix resin and hardener together to make a cured and dried resin by chemical reaction of resin and hardener. For better result of resin artworks, we should consider the right ratio of resin and hardener in combination. This ratio is two to one. It means that we must mix two part of resin and one part of hardener . Volume is not important we must measure just weight.
At first we pour the resin in disposable cup and weigh the resin cup by digital scale and then make scale zero and pour the hardener in cup then weigh the cup again. We can add pigment, paste and ink color to resin for coloring. We must blend resin and hardener gently into one side to avoid making bubbles on surface of resin. We can do this blending by a wood stick.


Using molds or non-plastic surface
Once the blend is ready, now we have time of almost twenty minutes to shape or design resin. This time is called mixing time. After this time, it is hard to make design on resin because resin will start to be hard. In this first twenty minutes we can pour resin gently on silicone mold to make shape for it or pour it on surfaces of wood or MDF to be able to design them. We use the materials of wood or MDF for design because resin stick well on them.

We can gently add other colored layers of resin to the main resin and lead these layers with the heat gun across the main resin. In this way, we can make beautiful designs on the surface of main resin. Now we can remove bubbles gently with the help of a torch on the surface of resin.
Curing resin
Once we finished our design, cover resin with plastic sheet to protect resin from dust. Depending on the concentration of resin, it will take the time up to twenty four hours to completely cured and ready to use. The best temperature for resin is between 20 and 25 degrees for a good curing.
Finally
I am happy if I have been successful to introduce you some aspects of practical and aesthetic usage of resin and make you familiar with making resin artworks. Now you know the initial way of making a good resin in safe and correct basis. In future I will have articles about the different techniques of making resin. It would be my pleasure if you visit my resin artworks and my other products in my site. www.pegartgallery.com


